Define what the sample must prove
Start with the target buyer, sales channel, product format and the specific decisions still open. A sample for visual direction is different from a sample intended to approve application behavior, packaging fit or a complete kit.
- Target market and buyer
- Product family and intended use
- Reference attributes to match
- Attributes to avoid
- Packaging or kit scope
Translate references into visible attributes
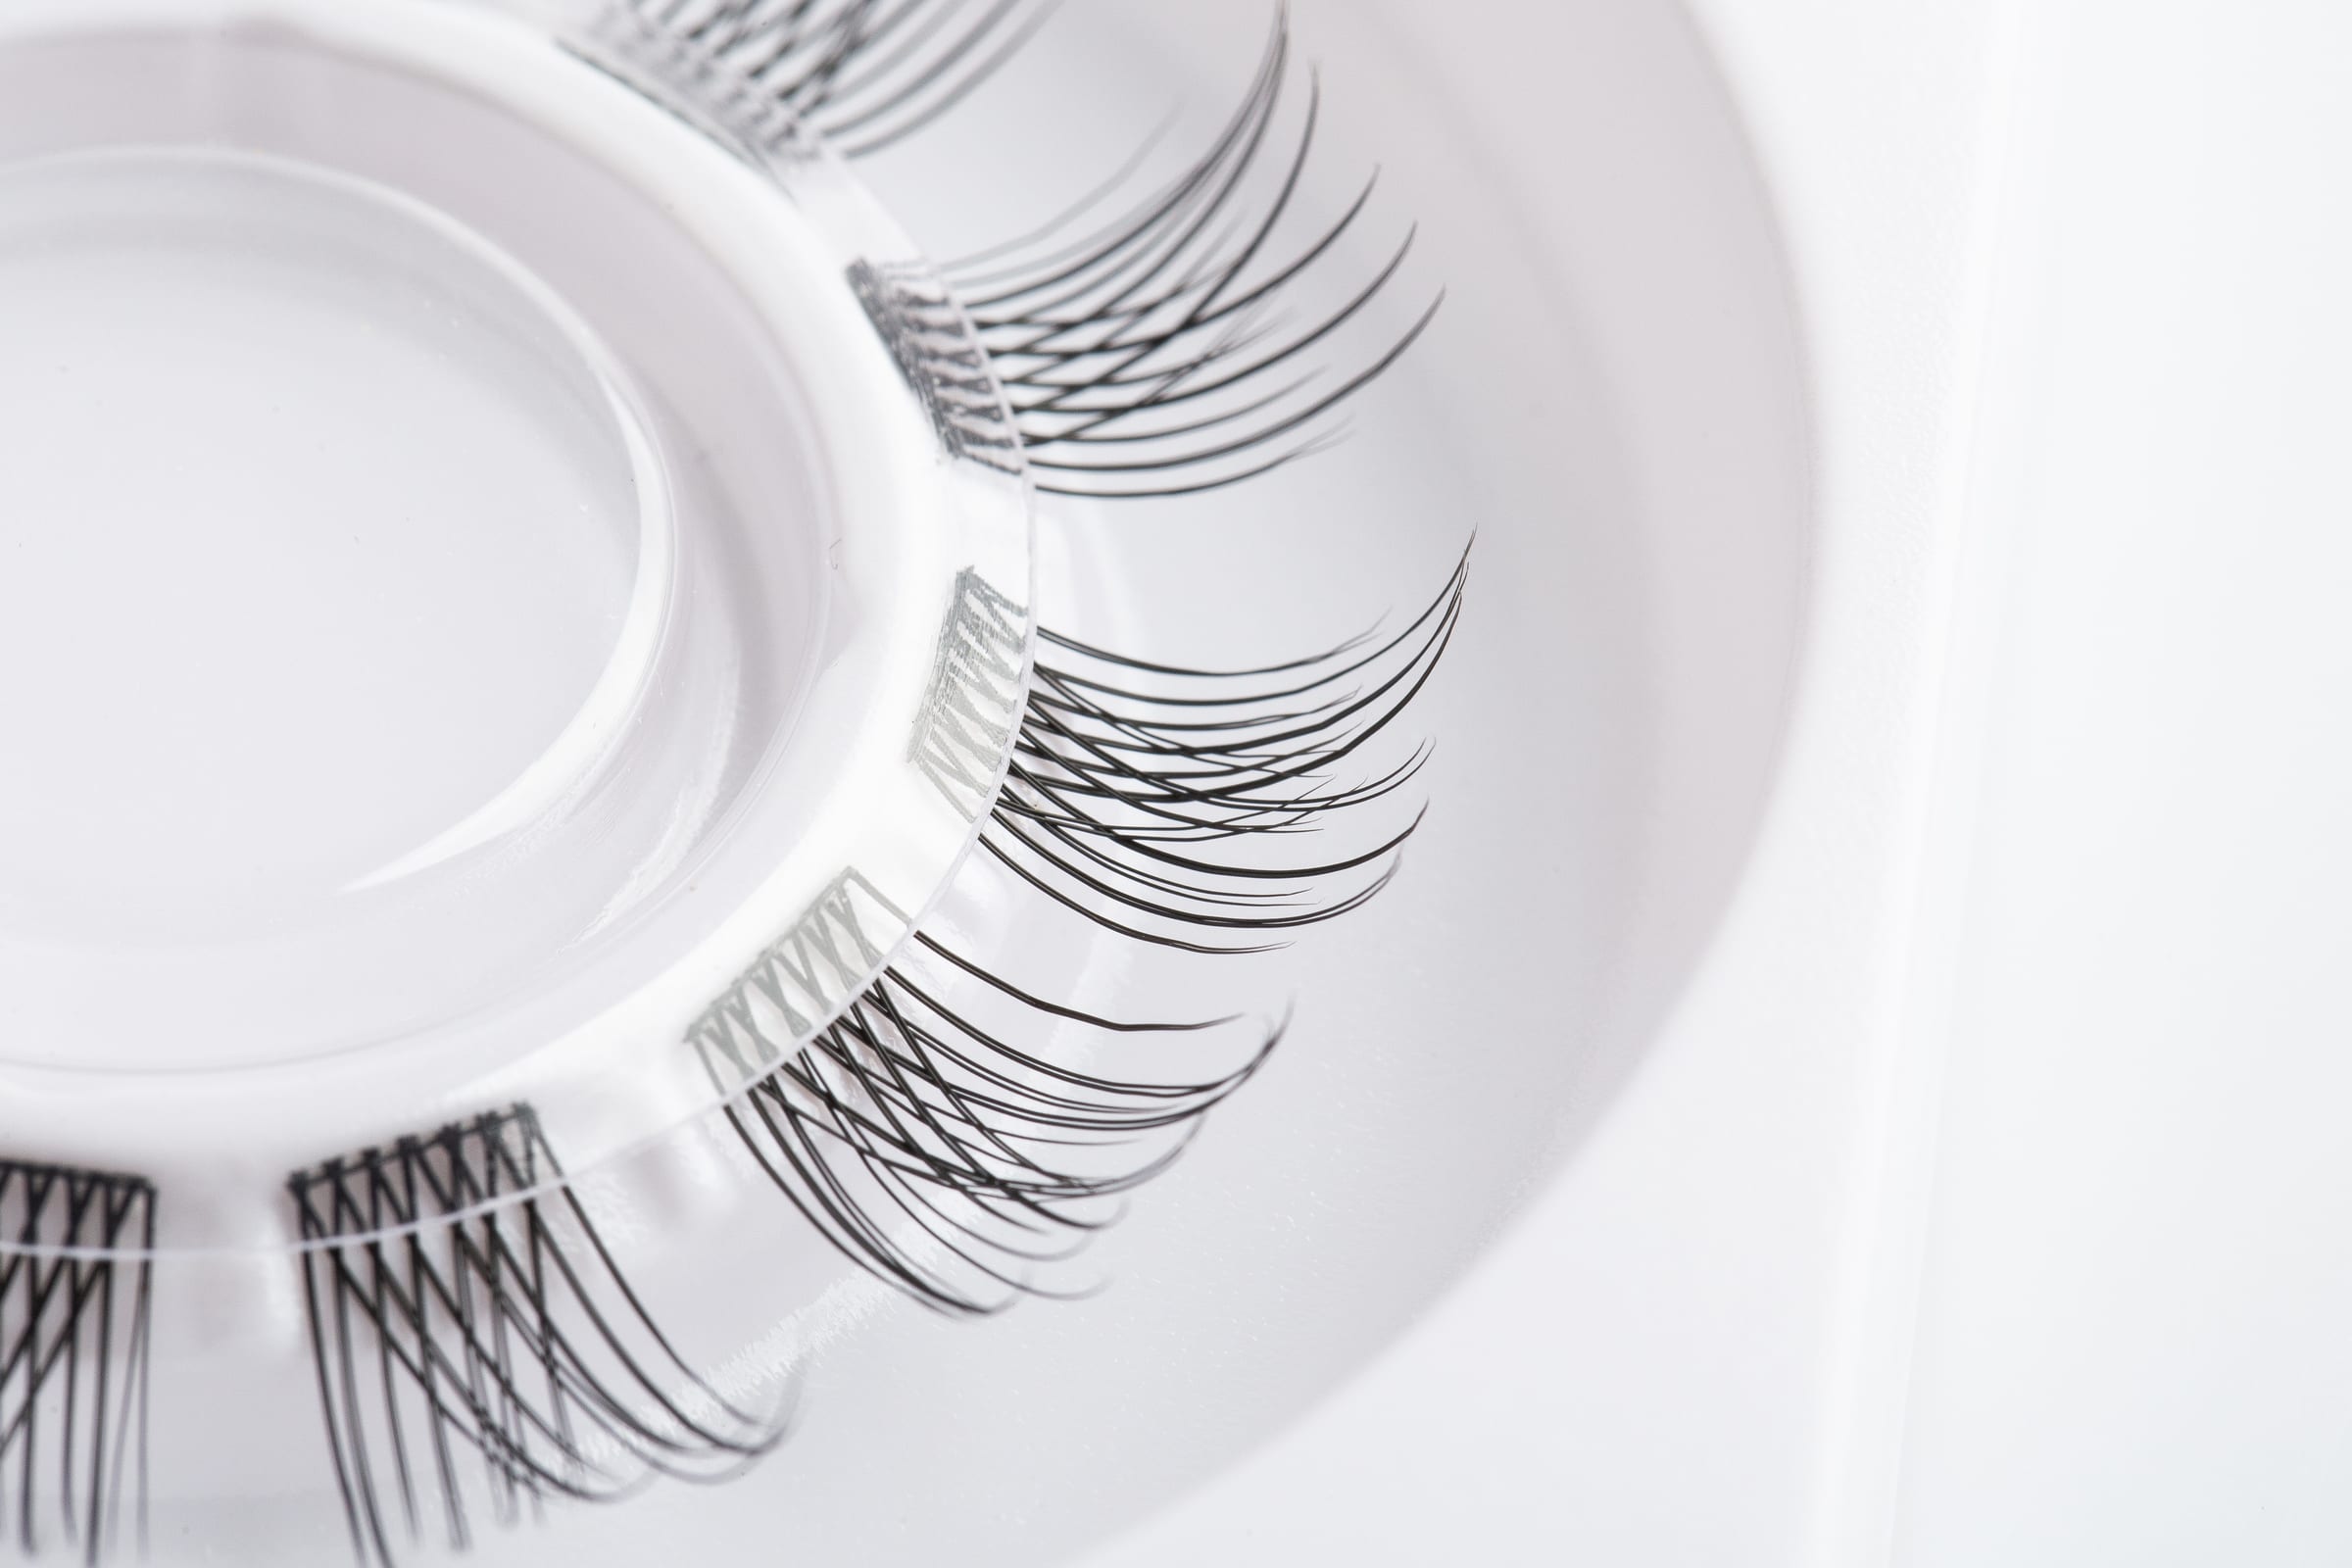
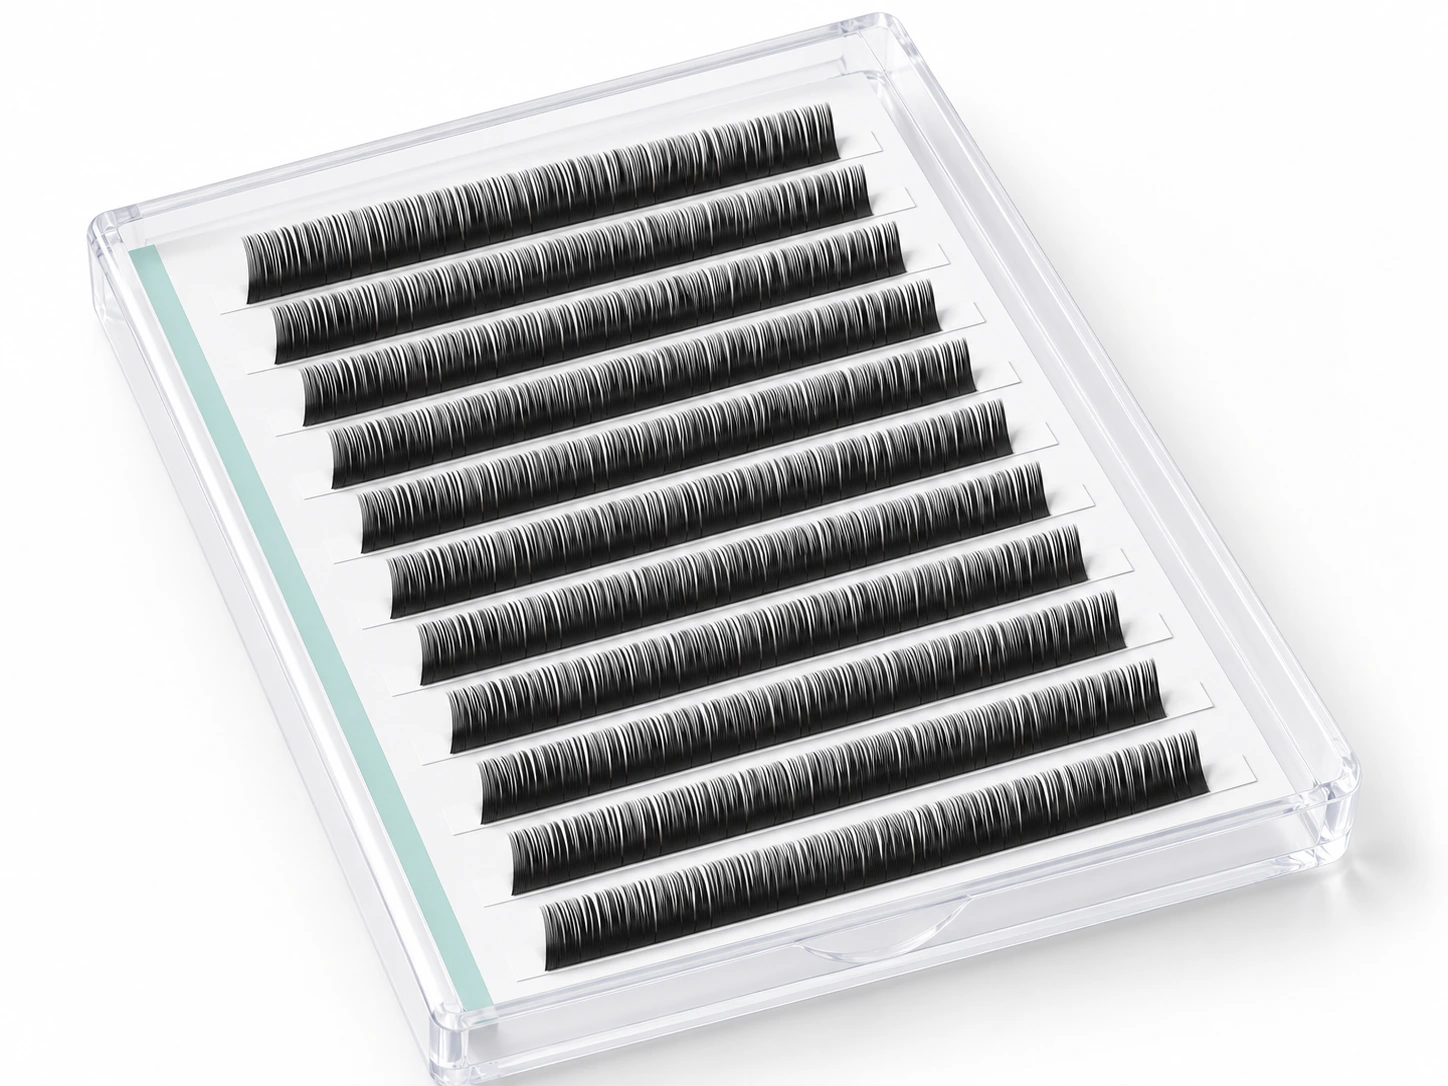
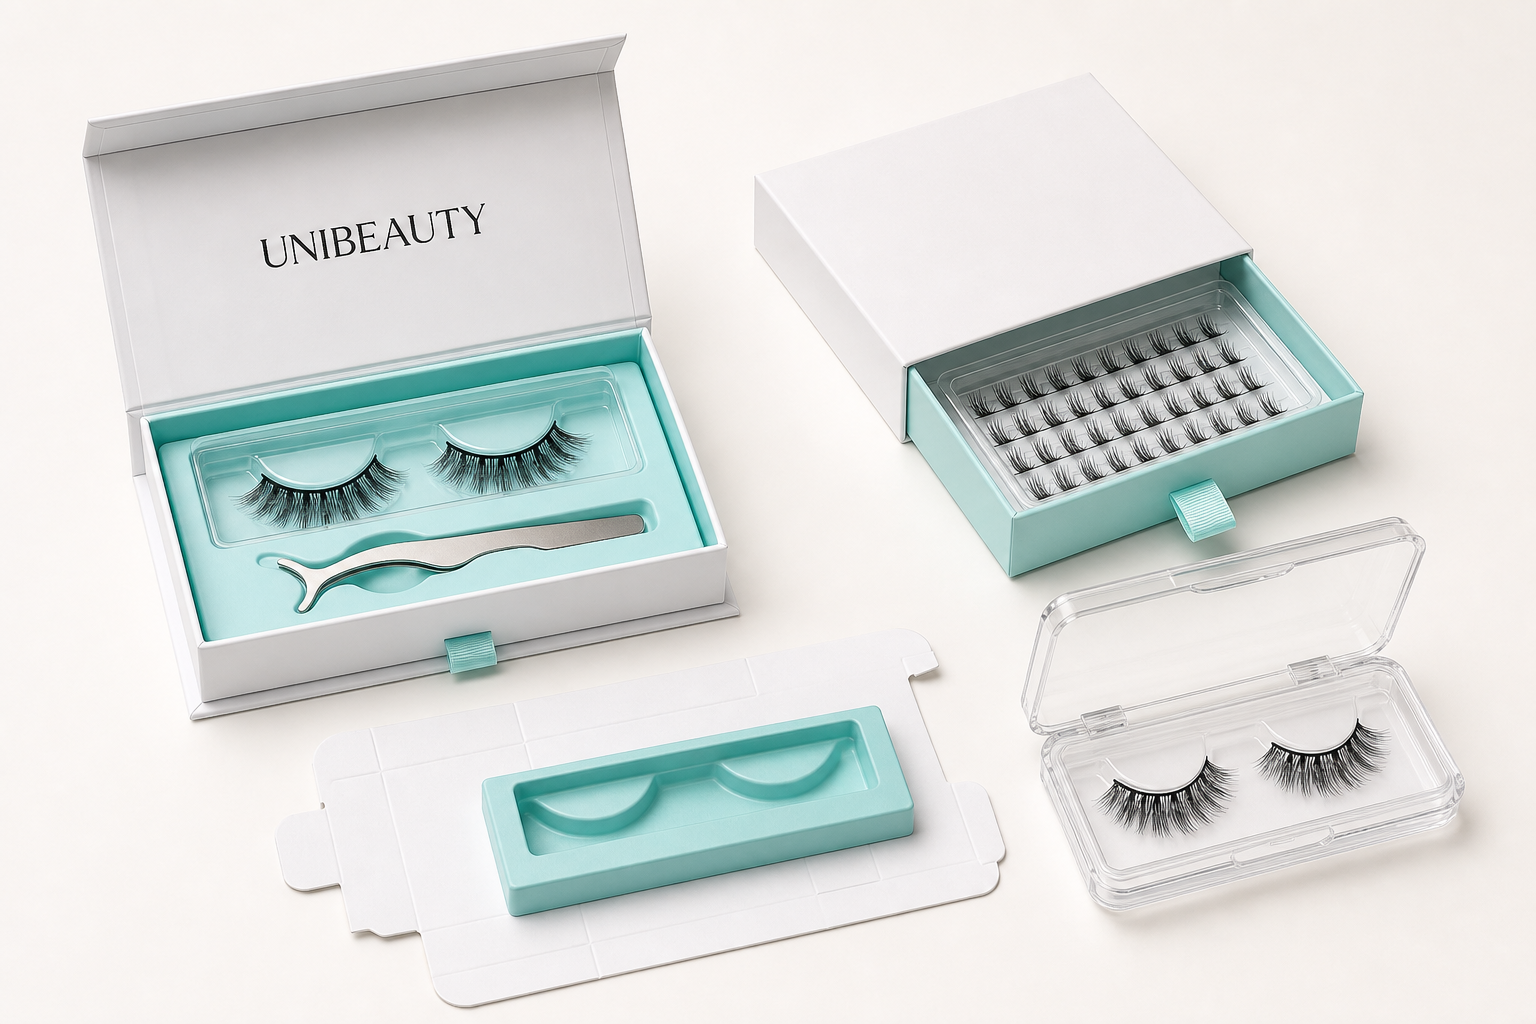
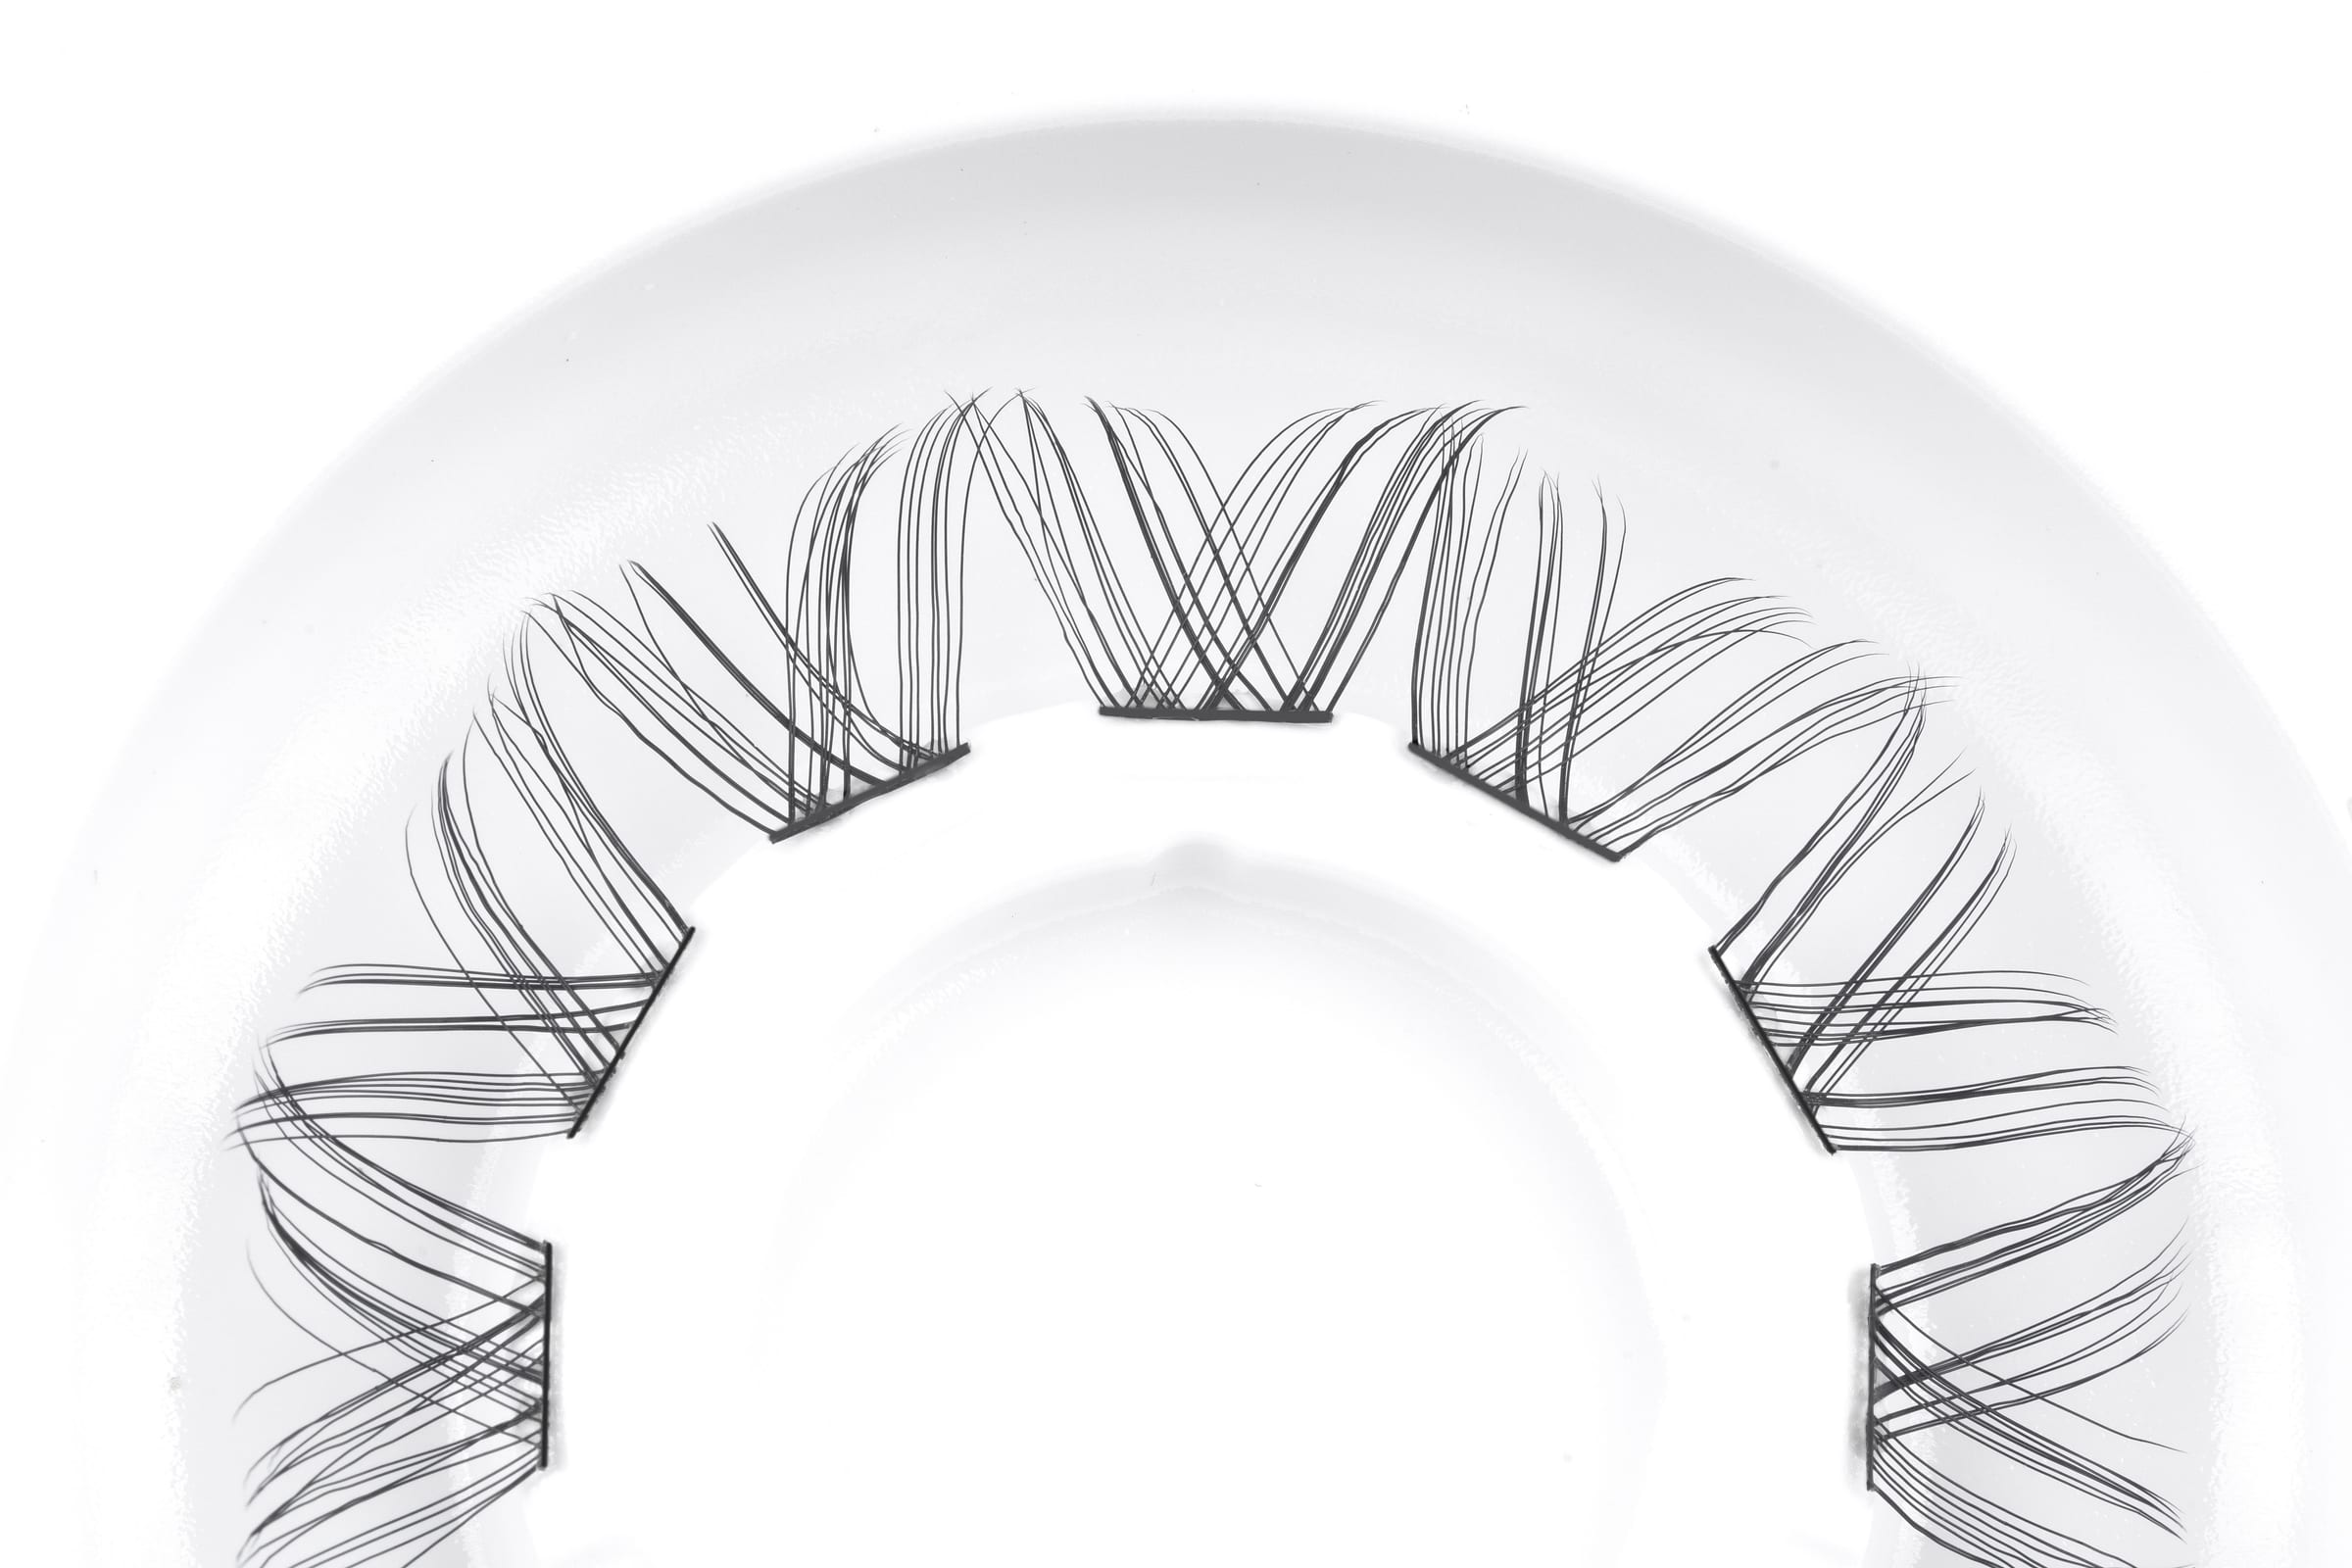
Explain what matters in each reference instead of asking for a generic copy. For lashes, identify the density, mapping, curl, length progression, root or band and visible finish. For kits, list every liquid, tool, tray and instruction component that must work together.
- Fiber and style direction
- Root, stem or band construction
- Pickup and application route
- Tray and component fit
- Retail presentation
Confirm the product and arrange sample production
Confirm your selected product, specifications and applicable components with our team, then we arrange sample production. The sample stage does not include packaging artwork or print-layout design. Packaging type and kit contents can be discussed without creating a branded layout.
- Selected product and specifications
- Reference attributes to match
- Applicable components
- Sample production arranged after product confirmation
Review the physical product under one checklist
Compare samples in the intended use condition and record the result. Photography helps document appearance, but approval should also cover pickup, placement, release, component fit and labeling where they apply.
- Appearance against the brief
- Handling and application behavior
- Consistency across the sample
- Product-to-tray fit
- Label and component accuracy
Move to bulk-order preparation after product confirmation
Retain the confirmed product sample, specification notes and applicable component list. When the project moves to a bulk order, develop and approve the packaging layout and print files, then confirm the order quantity, production schedule and applicable QC requirements with our team.
Related UNIBEAUTY capability pages
These official pages document the wider product-development, manufacturing and packaging model behind this guide.