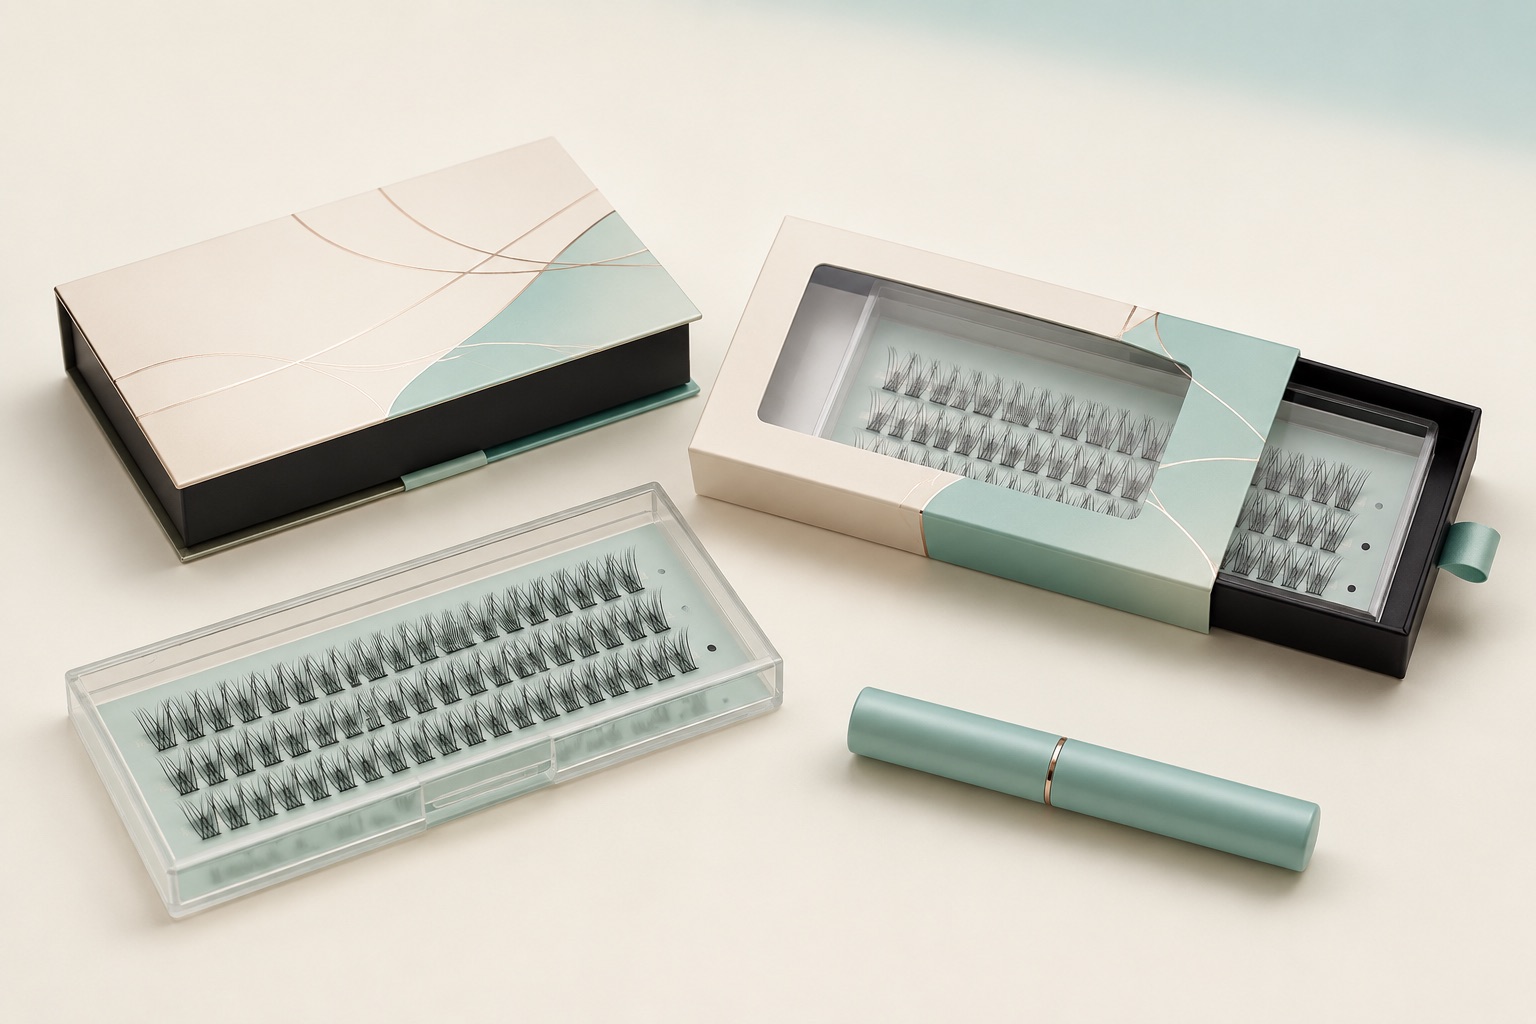
Map every physical component
List what the buyer will receive and which items need custom printing. A stock tray with a branded label follows a different path from a custom formed tray and printed magnetic box.
- Product tray or card
- Primary box
- Label and barcode
- Instructions or insert
- Outer carton
Separate startup speed from structural customization
A low-risk first test may use an existing tray and branded outer package. Deeper customization can follow after the product proves demand.
- Stock component + logo label
- Printed standard box
- Adjusted insert or tray card
- Custom structure or mold
Approve fit before approving artwork
Confirm the actual product, tray and accessories fit together before final print approval. The most polished artwork cannot correct a component mismatch.
- Product and tray fit
- Accessory count
- Instruction size
- Transport protection
Plan reorder ownership
Record component specifications, remaining printed inventory, artwork versions and reorder lead times. This prevents a small packaging change from interrupting an otherwise repeatable product.